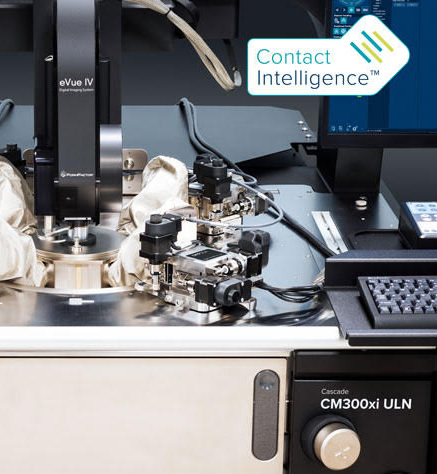
FormFactor’s Autonomous DC Measurement Assistant creates a paradigm shift for engineers and lab managers. It is now possible to setup a high throughput test cell, for both semi- or fully automatic systems, offering complete hands-free 24/7 operation.
The Autonomous DC Measurement Assistant combines motorized probe positioners with state-of-the-art image processing to achieve highly-reliable measurement data at any time. It enables small pad touchdown optimization, automatic testing over multiple different temperatures, and automatic probe layout spacing for testing sub die.
Both single-DUT probe layouts and multi-DUT layouts can be easily called by measurement software for complete automation. The Autonomous DC Measurement Assistant takes care of all the complex management of thermal transitions, and thermal soak time optimization of probe-to-pad-alignment (PTPA). The result is optimized and reliable low contact resistance probing on small pads down to 30 µm for device characterization and modelling at extended temperatures (-55 to 200°C), over all dies on a wafer, and all wafers.
In this mini-blog series, we’ll cover ten key features and benefits inherent with the Autonomous DM Measurement Assistant. Here are the first three:
- Small pad probing down to 30 µm – at multiple temperatures
On-wafer measurements are particularly challenging when probing on small pads and at multiple temperatures. Temperature transitions will lead to mechanical expansion/contraction of the probes, the chuck, and the wafer itself in X, Y and Z. If not monitored properly, there is a high risk that the probes hit one another as they change in X and Y, or damage the pads significantly as they expand in Z. To maintain good contact, readjustment of the probes to the pads is necessary after each temperature change.
Auto DC constantly monitors the probes and will automatically readjust if necessary. It ensures accurate contact of small pads down to 30 µm at any time and over the full temperature range*, resulting in faster time to measurement, increased productivity and higher contact accuracy compared to manual adjustment. Finally, it protects your valuable equipment from unintended crashes.
- Optimized soak times
Temperature transition soak time – When a wafer prober transitions to a new temperature, the chuck reaches the target temperature, while the prober structure (platen) has a time lag to reach thermal equilibrium. A prober must reach thermal equilibrium before probes can contact the pads, otherwise probes would drift off the pads after touchdown.
Autonomous DC automates the adjustment process by applying pre-defined soak conditions before it automatically readjusts the probes and starts the measurements.
Die soak time – When the chuck is moved to a new test site a thermal imbalance in the prober is created. This imbalance is caused by an old hot spot cooling down and a new hot spot heating up. The time required for the prober to reach equilibrium under this condition is die soak time. Without adequate die soak time, probes can drift off the pads after contact is made, invalidating the data and possibly causing damage. This is especially the case when making large movements of the chuck to test only a few dies across the wafer or to reach a cleaning pad.
Autonomous DC manages die soak times and automatically readjusts the probes before continuing with the measurements.
- Optimized contact resistance
A low and consistent contact resistance (RC) between the probe tip and the pad is an essential precondition for accurate measurement data. A good contact resistance is achieved by applying an appropriate force and overdrive to the probes. This is especially challenging when contacting small pads as the contact space is limited to a minimum.
Auto DC provides dynamic control of each probe touchdown (Z overdrive) by analyzing probe marks and transition-related movements. The system will initiate corrective adjustments whenever necessary, resulting in consistent contact resistance for each probe, not only on the DUT but on the whole wafer.
In addition to monitoring contact resistance, Auto DC will perform regular probe cleanings to ensure highest contact quality.
In our next post, we’ll cover the next four features and benefits – automated multi-DUT layout testing, industry-leading high-performance probes, motorized positioners, and VueTrack™.
For detailed information on Automated DC Measurement Assistant, visit the website or download the brochure.
